LNMP:Linux+Nginx+MySql+PHP
安装Nginx
Nginx的正确读法应该是Engine X。
详细请参考我的另一篇文章: CentOS下使用yum安装Nginx。
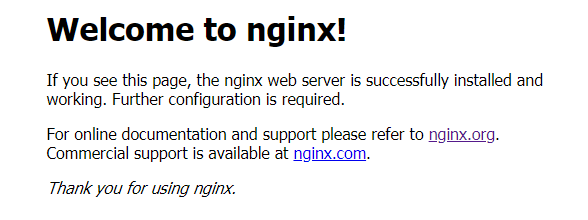
安装成功后,启动nginx应该就可以看到熟悉的欢迎界面.
1 | rpm -ivh http://nginx.org/packages/centos/7/noarch/RPMS/ |

安装MariaDB
详细请参考我的另一篇文章:CentOS7下使用yum安装MariaDB。
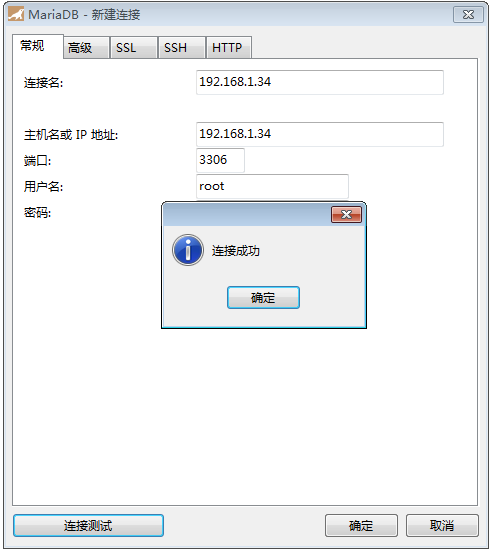
安装成功后,启动MariaDB;使用Navicat客户端连接数据库,应该就可以看到熟悉的连接成功提示信息。
1 | yum -y install mariadb-server |

安装PHP7.2.24[remi版本]
配置yum源
安装php72w,是需要配置额外的yum源地址的。
- epel-release
- remi
1 | yum install epel-release -y |
注:
remi源依赖epel-release源,安装之前必须先安装epel-release源。
remi源版本更新比webtatic源快,并且是CentOS建议的yum源。
安装PHP和扩展包
PHP对于扩展库很多,根据需要安装PHP和相关扩展包。其中,cli、fpm、common和devel一般都要安装,其它模块看自己需要进行安装。
1 | yum -y install php72 |
启动php-fpm
1 | systemctl start php72-php-fpm |
查看PHP版本,出现如下图提示,说明PHP已安装成功。可输入php72 -m命令,查看PHP已安装模块。

注:最好创建一个软链接,就可以直接执行”php -v”。
1 | sudo ln -s /opt/remi/php72/root/usr/bin/php /usr/bin/php |
安装PHP7.2.24[webtatic版本]
配置yum源4[webtatic版本]
安装php72w,是需要配置额外的yum源地址的。
- epel-release
- webtatic
1 | yum install epel-release -y |
注:webtatic源依赖epel-release源,安装之前,必须先安装epel-release源。
清除PHP历史版本
为了防止centos上面发生php冲突,清楚PHP历史版本。
1 | yum -y remove php* |
安装PHP和扩展包
PHP对于扩展库很多,根据需要安装PHP和相关扩展包。其中,cli、fpm、common和devel一般都要安装,其它模块看自己需要进行安装。
1 | yum -y install php72w php72w-cli php72w-fpm php72w-common |
启动php-fpm
1 | systemctl start php-fpm |
查看PHP版本,出现如下图提示,说明PHP已安装成功。可输入php -m命令,查看PHP已安装模块。

配置nginx
切换到文件夹”/etc/nginx/conf.d/“,编辑文件default.conf。
取消”location ~ .php”的注释,并修改root和fastcgi_param的值,具体如下:
1 | ... ... |
运行命令”nginx -s reload”,重新启动nginx。
切换至文件夹”/usr/share/nginx/html/“,创建文件info.php,内容如下:
1 | <?php |
打开浏览器,输入该ngxin服务器的IP地址,可以看到熟悉的PHPInfo页面:

设置开机启动
1 | systemctl enable nginx |
服务启动、停止、状态查看
1 | 开启服务 |
常见错误
- “File not found”错误
请检查”/etc/nginx/conf.d/default.conf”文件中,root值是否修改正确,再检查fastcgi_param值是否已按要求修改; - “无法访问此网站”错误
请检查CentOS防火墙80端口是否已设置为允许访问;
1 | 配置防火墙,允许80,3306端口远程访问 |
常用路径
1 | nginx 配置文件 |
参考
1、可供CentOS使用的软件库
https://wiki.centos.org/zh/AdditionalResources/Repositories